Running GPU-Optimised Monte Carlo (GOMC) on an AMD GPU using SCALE

Mon Jun 16 2025
SCALE is a toolkit that enables CUDA applications to be natively compiled for AMD GPUs. As SCALE reaches maturity, the number of projects that work with it steadily increases. Today we will look at the experience of using SCALE to build and run an existing CUDA-enabled project called GOMC.
You can read more about SCALE in the official documentation or in the form of a blog post: Unpacking SCALE. However, reading those pages is not necessary for understanding this post.
What is GOMC?
GOMC is short for GPU-Optimized Monte Carlo. This open-source software allows simulating molecular systems using statistical methods. It can run on CPUs using OpenMP and on NVIDIA GPUs using NVIDIA CUDA. You can find more information about GOMC on its official website.
This software is optimised for running on the GPUs, but as it uses NVIDIA CUDA, by design, it cannot be used with GPUs from other vendors. As such, GOMC is a perfect candidate for using SCALE that removes that artificial barrier.
Installing SCALE
Before we can move on to GOMC, we need to install SCALE. I will use SCALE Free Edition version 1.3.1, which is the most recent version at the moment of writing.
My GPU is AMD Radeon RX 7700 XT 12GB GDDR6, its Instruction Set Architecture (ISA) is gfx1101.
If you want to replicate my results, please make sure that your GPU is on the list of GPUs supported by SCALE 1.3.1.
You can find the table of ISA names in AMD docs on GPU specs. Look for the column "LLVM target name", even though these identifiers are not specific to LLVM. SCALE also includes a way to determine your GPU ISA once you install it:
scale-free-1.3.1-Linux/bin/scaleinfo | grep gfx
Remember: academic/research licenses are avaliable, and even if your GPU is not on the list, or is only supported by the Enterprise Edition, get in touch, and we will try to help you.
SCALE can be installed by following the official instructions: Install SCALE 1.3.1. I am using neither Ubuntu, nor Rocky Linux, so I will follow installation instructions for "Other Distros":
# Download the tarball
wget https://pkgs.scale-lang.com/tar/scale-free-1.3.1-amd64.tar.xz

# Extract it into the current directory
tar xf scale-free-1.3.1-amd64.tar.xz
A scale-free-1.3.1-Linux directory will appear.
This marks the end of SCALE installation process.
Buliding GOMC with SCALE
The GOMC build process described here is based on SCALE's validation scripts. You can learn more about them in their repository: spectral-compute/scale-validation. We also mentioned them in the post about GROMACS. You can find the GOMC validation script I used as a reference here: scale-validation/gomc @ dc1f32c.
Before we start building GOMC, we should activate SCALE virtual environment (scaleenv).
The concept is similar to virtual environments used with programming languages like Python.
While using scaleenv is not strictly necessary for using SCALE, it greatly streamlines the experience:
scaleenvsimplifies configuring and building projects by managing common environment variables automaticallyscaleenvmakes dealing with multiple SCALE versions and/or multiple GPUs easier
To activate the virtual environment, you need to specify which GPU ISA you want to use:
# Activate the virtual environment for gfx1101 in the current shell.
# Substitute "gfx1101" with your GPU ISA.
source scale-free-1.3.1-Linux/bin/scaleenv gfx1101
Your shell prompt will be modified to reflect that the virtual environment is active.
Should you wish to deactivate the virtual environment, simply run deactivate.
Now, let's clone the sources of GOMC:
git clone https://github.com/GOMC-WSU/GOMC.git && cd GOMC

# Check out a specific revision of GOMC.
# This is different from the revision in the validation script,
# as I simply used the newest one available.
git checkout 9fc85fb574194e93752776c44c00c3e6513af281
As can be seen from the validation scripts, GOMC currently requires a few small patches to make it work. The following three patches fix what can be considered bugs in GOMC:
# Don't enable libc++.
# Reason: CMake detects that we are Clang, GOMC enables libc++ for that in a way that seems to be broken.
sed -i -E 's/-stdlib=libc\+\+//' \
    "CMakeLists.txt" \
    "lib/cereal-1.3.0/CMakeLists.txt"

# Disable OpenMP support.
# Reason: GOMC's OpenMP support tests __GNUC__'s value.
# Even if a larger value is used that causes use of the newer OpenMP syntax that Clang expects, it still results in error messages.
sed -i -E 's/find_package\(OpenMP\)//' "CMakeLists.txt"

# Disambiguate a call to Difference.
# Reason: this is also required when using NVIDIA CUDA.
# See this ticket: https://github.com/GOMC-WSU/GOMC/issues/492
sed -i -E 's/ Difference/ ::Difference/g' "src/GPU/CalculateForceCUDAKernel.cu"
The following patch works around a genuine compatibility issue SCALE will need to fix in a future release.
GOMC hardcodes CUDA_ARCHITECTURES "35;60;70;80", and this patch removes 35 from that list.
sed -i -E "s/(\s+CUDA_ARCHITECTURES ).*/\1\"60;70;80\"/" \
    "CMake/GOMCCUDASetup.cmake" \
    "test/BuildGPUTests.cmake"
That patch was necessary because GOMC provides a definition for double atomicAdd(double *, double) when __CUDA_ARCH__ < 600 to compensate for the lack of that API in older NVIDIA CUDA versions.
On the other hand, in SCALE 1.3.1, atomicAdd for double exists for values of __CUDA_ARCH__ below that.
This illustrates how much effort goes into making a compatible API. We can't just provide the necessary functions, we have to provide no more than necessary. Otherwise, function and type declarations start clashing, SFINAE breaks and so on. We publish API Coverage Reports in our documentation. We also list differences and enhancements in SCALE compared to NVIDIA CUDA.
GOMC can now be configured and built.
GOMC instructions advise using ./metamake.sh, but we found it easier to interface with CMake directly:
cmake \
    -DCMAKE_BUILD_TYPE=RelWithDebInfo \
    -DGOMC_GTEST=On \
    -B"build" \
    .

cd build
make -j$(nproc)
At this point, GOMC has been built. You can verify that it works by running some tests:
./GOMC_GPU_GCMC_Test --gtest_filter="-ConsistentTrajectoryTest.*"
./GOMC_GPU_GEMC_Test --gtest_filter="-ConsistentTrajectoryTest.*"
./GOMC_GPU_NPT_Test --gtest_filter="-ConsistentTrajectoryTest.*"
./GOMC_GPU_NVT_Test --gtest_filter="-ConsistentTrajectoryTest.*"
Running GOMC with SCALE
Let's run an example provided by GOMC:
# Assuming we are still in the GOMC build directory, save the path to it for later
export GOMC=$(pwd)

# Leave the GOMC repository
cd ../..

# Clone GOMC Examples and check out a specific revision.
# Like with GOMC itself, I simply chose the most recent one.
git clone https://github.com/GOMC-WSU/GOMC_Examples.git && cd GOMC_Examples
git checkout c3d5d2e2c52d98db2d143019e8fe36f8fe0e62cc

# Select the example we are going to run
cd NVT_GEMC/pure_fluid/octane_T_360_00_K

# Run the example
"$GOMC/GOMC_GPU_GEMC" in.conf 2>&1 | tee test.log
The output will contain information about the GPU being used:
GPU information:
Info: Device Number: 0
Info: Device name: AMD Radeon RX 7700 XT - gfx1101 (AMD) <amdgcn-amd-amdhsa--gfx1101>
Info: Memory Clock Rate (KHz): 1124000
Info: Memory Bus Width (bits): 192
Info: Peak Memory Bandwidth (GB/s): 53.952000
This is what simulation results look like for me:
Simulation Time (total): 4.7654e+02 sec.

Move Type                Mol. Kind      BOX_0      BOX_1
% Accepted Displacement        C8P     51.75844   74.14317
% Accepted Rotation            C8P     50.76357   86.17870
% Accepted Regrowth            C8P     21.82463   59.14750
% Accepted Crank-Shaft         C8P     84.44648   86.98939
% Accepted Mol-Transfer        C8P      0.26120    0.46801
% Accepted Volume-Transfer             54.22542   54.22542

Displacement:                           51.6984    sec.
Rotation:                               10.6198    sec.
MultiParticle:                           0.0000    sec.
Brownian-like MultiParticle:             0.0000    sec.
Intra Molecule Transfer:                 0.0000    sec.
Regrowth:                               44.1079    sec.
Intra Molecule Exchange:                 0.0000    sec.
Crankshaft:                             29.8462    sec.
Intra Targeted Transfer:                 0.0000    sec.
Molecule Exchange:                       0.0000    sec.
Molecule Transfer:                     176.1490    sec.
Nonequilibrium Molecule Transfer:        0.0000    sec.
Targeted Transfer:                       0.0000    sec.
Volume Transfer:                       135.4983    sec.
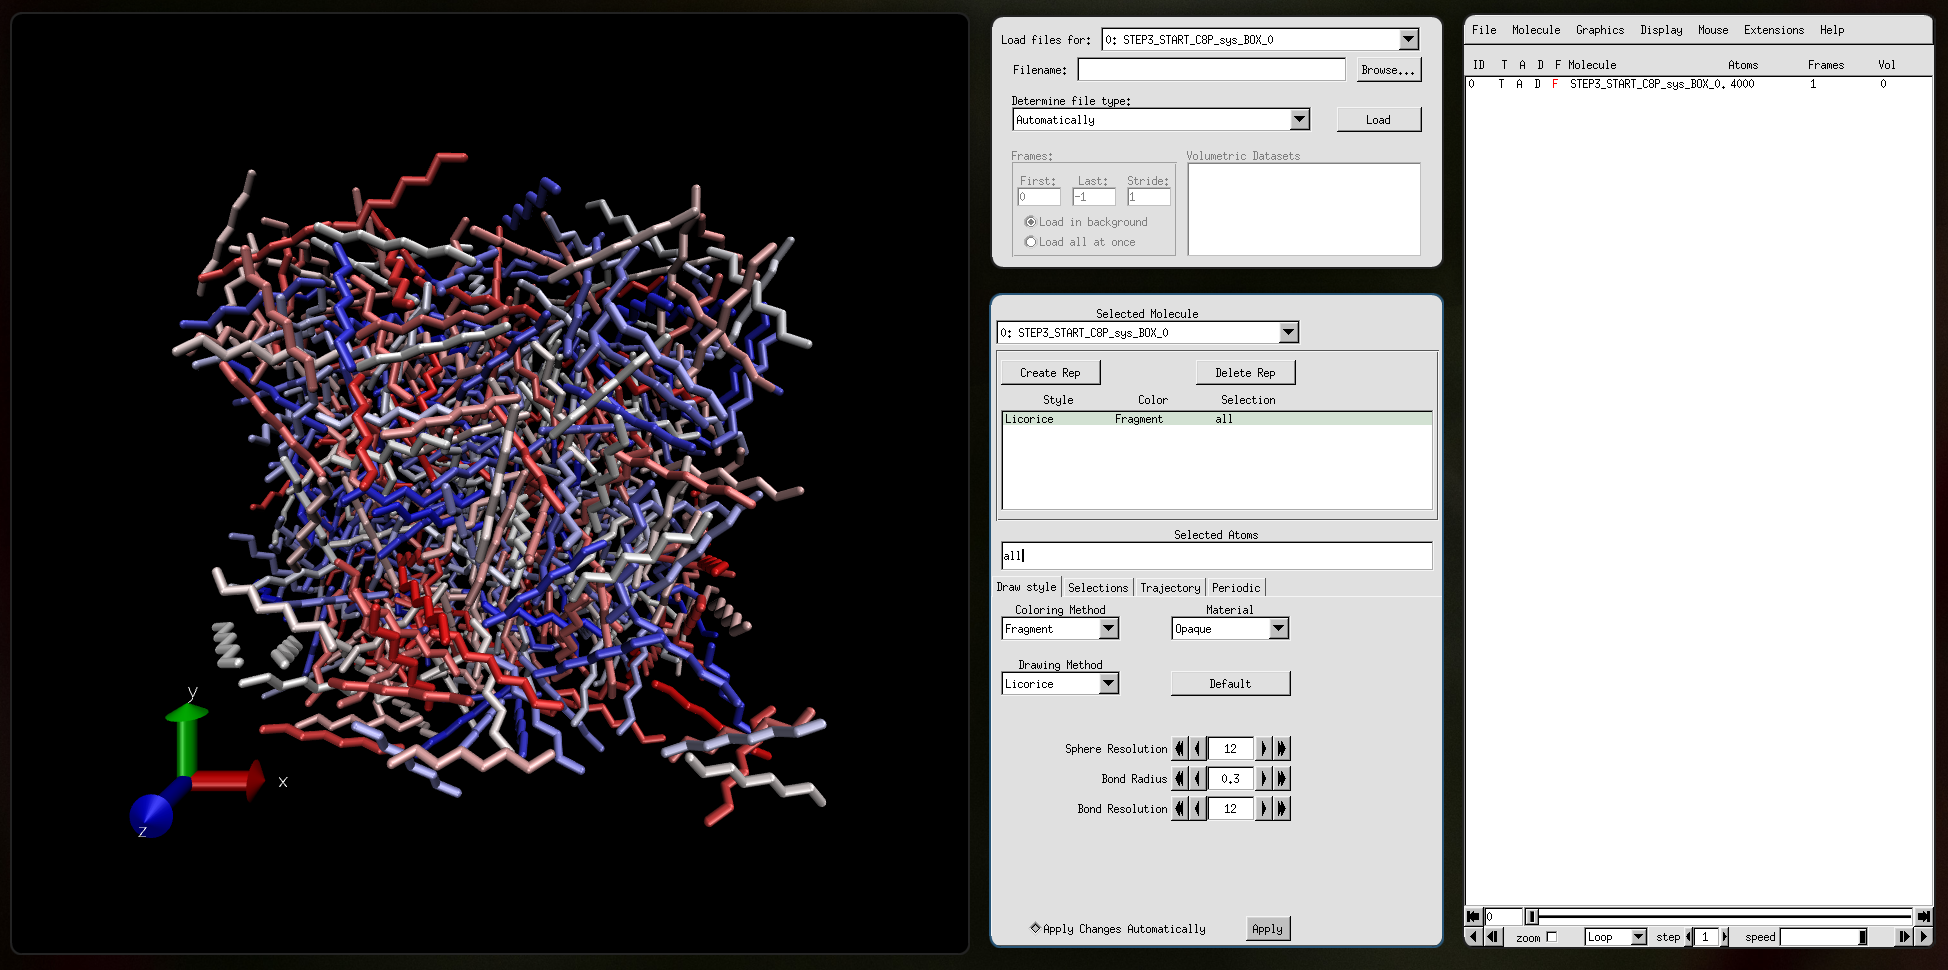
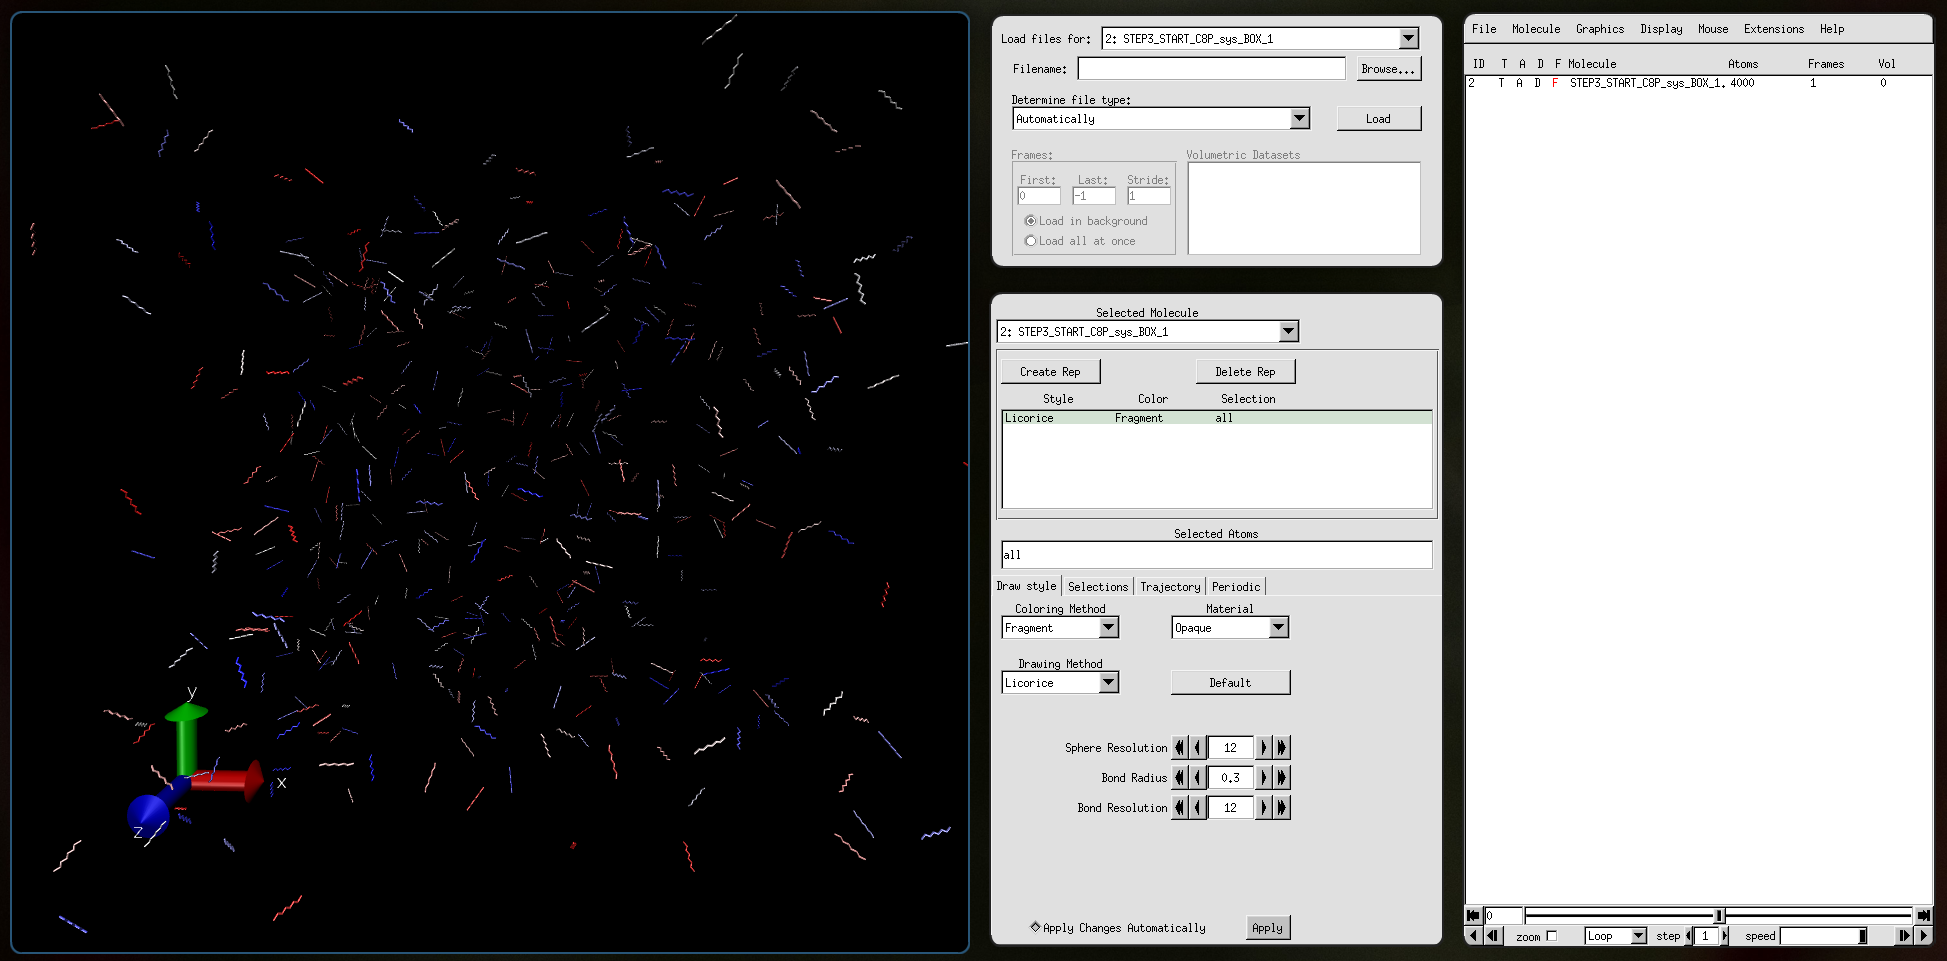
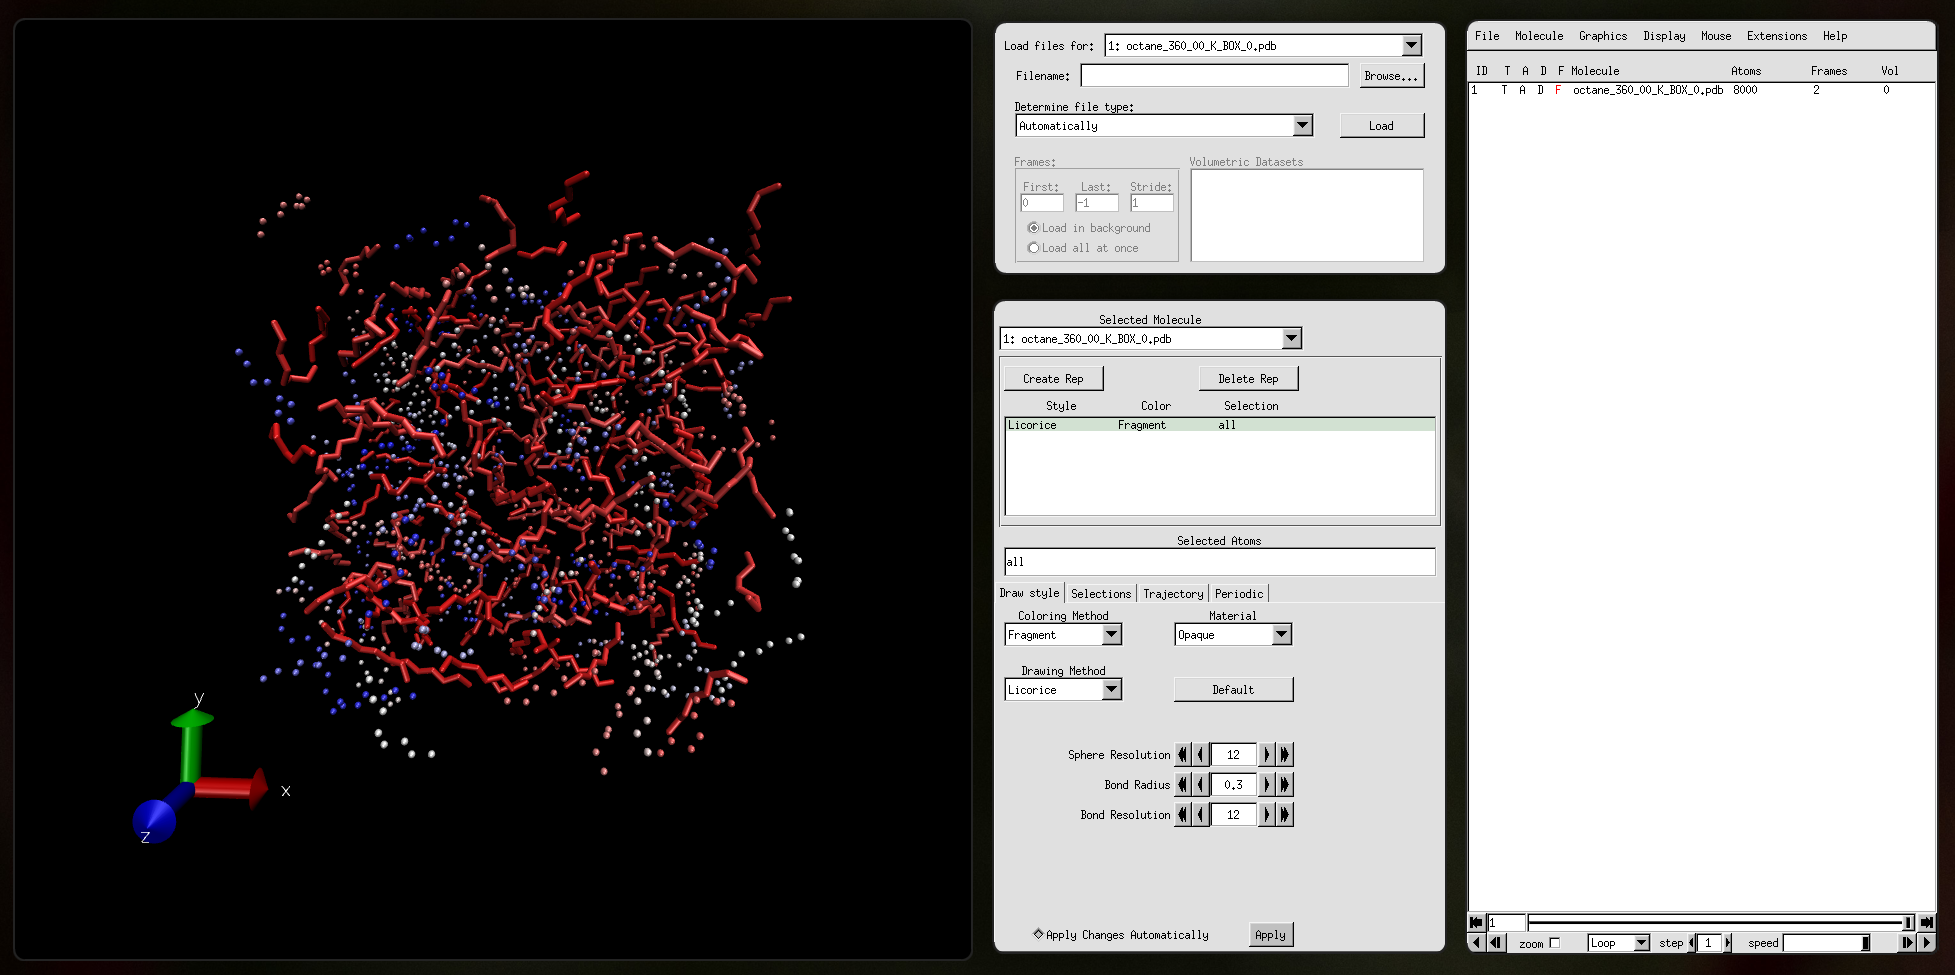
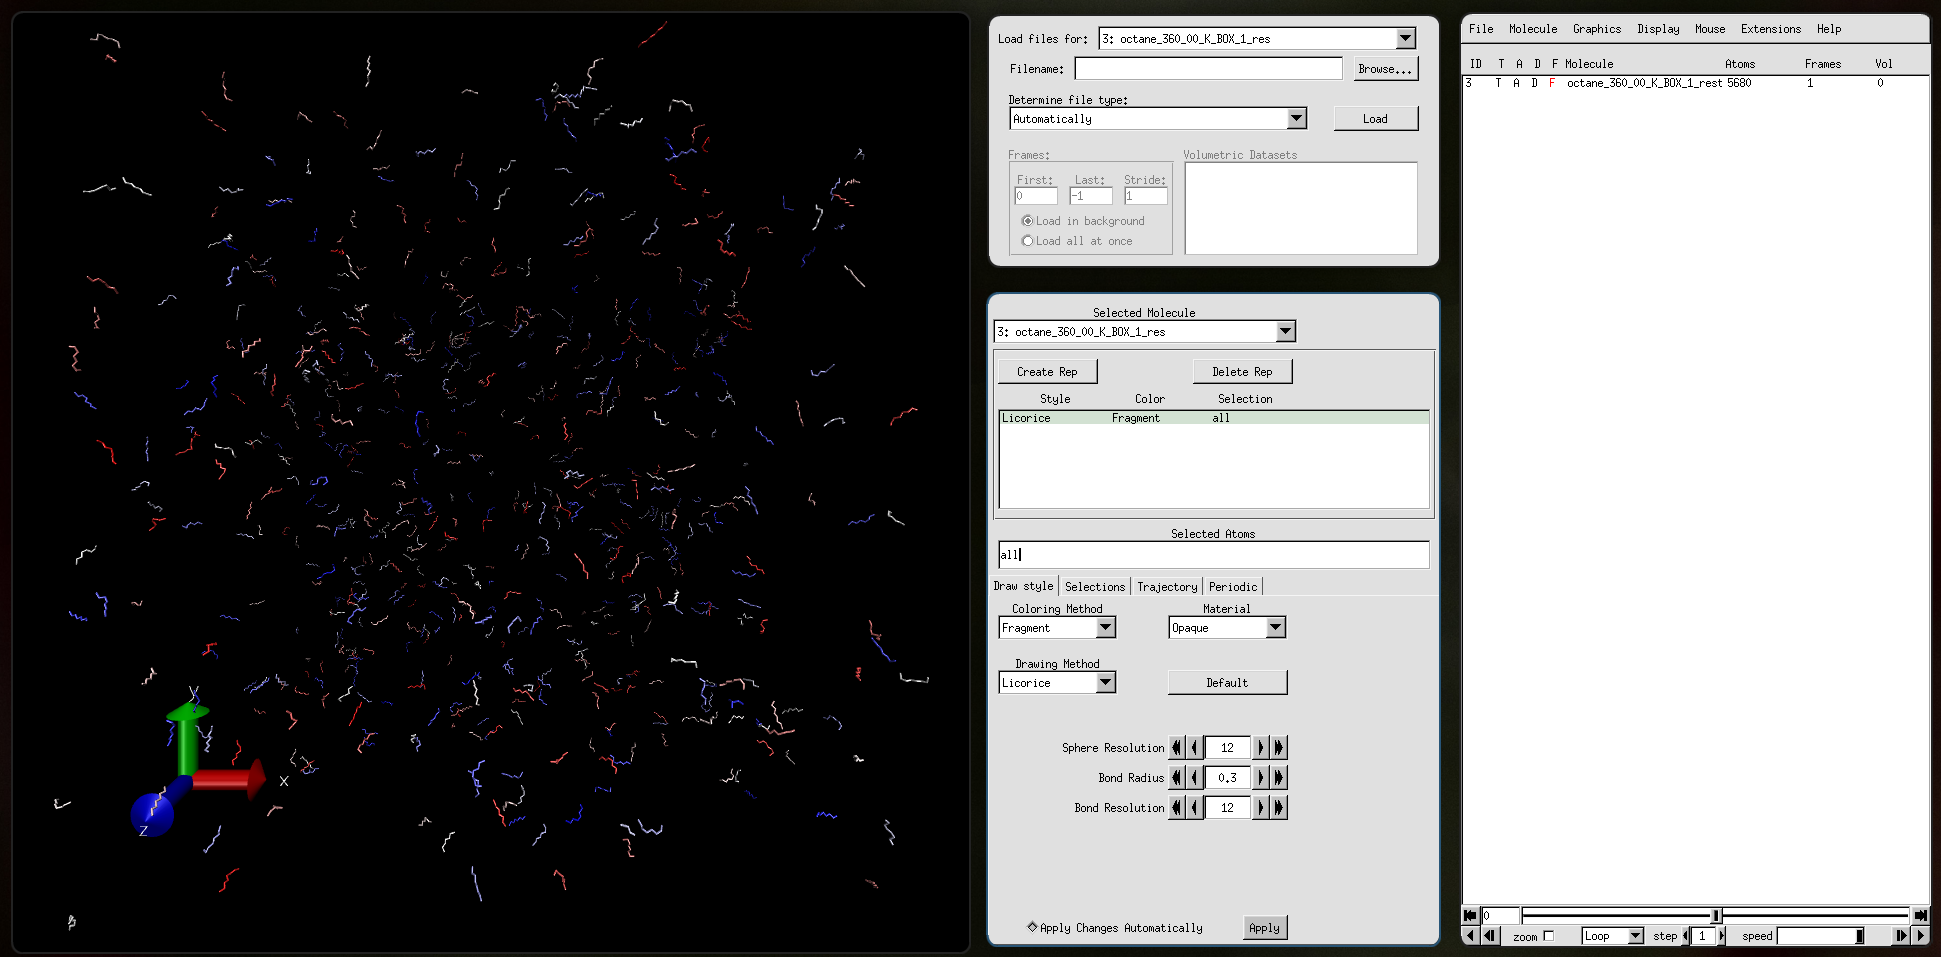
I was able to take some screenshots of the inputs and outputs of the simulation using VMD software.
Input file STEP3_START_C8P_sys_BOX_0.pdb:
Input file STEP3_START_C8P_sys_BOX_1.pdb:
Output file octane_360_00_K_BOX_0.pdb:
Output file octane_360_00_K_BOX_1.pdb:
Wrapping up
As one of the developers of SCALE, I am happy to see it work this well. There are many projects that are built exclusively for NVIDIA CUDA or that support GPUs from other vendors only as an afterthought. By bridging that gap, SCALE, among other things, makes research work more accessible, and I find that important.
I chose GOMC as the subject of this post specifically because I wanted to produce some visual results. In SCALE development, we deal with a lot of text, such as unit test outputs, stack traces, build system logs. Because of that, I thought it would be exciting to produce some pictures and share them here :)
Overall, I would say that the experience of using GOMC with SCALE has been pleasant.
The patches that I had to apply were minor, and 3 of them were justified by the fact that some assumptions about the environment that GOMC made were no longer correct.
The experience of using scaleenv was nice, and from my experience, that was even easier than dealing with NVIDIA CUDA or AMD HIP.
There are, as always, things that could be improved. If you'd like to submit a bug report, here is how you can do it: Report a Bug. In the meantime, join our Discord and check out our F.A.Q.
Acknowledgements
In the making of this post, I used the following:
GOMC (GPU-Optimised Monte Carlo)
- MIT Licence
- Website
- GitHub Repository
GOMC Examples
- MIT Licence
- GitHub Repository
VMD (Visual Molecular Dynamics)
- Custom Licence
- Website
VMD was developed by the Theoretical and Computational Biophysics Group in the Beckman Institute for Advanced Science and Technology at the University of Illinois at Urbana-Champaign.
Humphrey, W., Dalke, A. and Schulten, K., `VMD -Visual Molecular Dynamics', J. Molecular Graphics, 1996, vol. 14, pp. 33-38.
VMD is recommended by the GOMC manual.